Resin bound patios have been becoming increasingly popular in recent times because they are a durable low-maintenance, visually appealing alternative to traditional paving. While there are options for professional installation, most homeowners opt to make their own resin-bound patios. It’s a great way to save money and also add a personal touches to your outdoor space.
Creating a resin bound patio might seem daunting, but if you have the right materials and tools and follow a few easy rules, it’s an enjoyable task. Here are some helpful tips and tricks to assist you create a stunning resin bound patio of your own.
It is important to understand what a resin-bound patio is. It is made from a mixture of natural aggregates like marble, granite or stone, as well as a clear binder. The mixture is then troweled on to a surface that creates a non-slip appearance.
A resin bound patio has the advantage of being able to be installed over many surfaces. This includes concrete, tarmac and even block pavers. It is nevertheless important to make sure that the surface is clean, free of obstructions and is in good order.
Before starting any construction work on the surface, it is important to assess the drainage requirements of the site. The surface must be sloping enough to allow water to drain off and drain out. This is essential for areas prone to heavy rainfall. It may be necessary to install drainage channels or soakaways in order to ease drainage.
After the drainage requirements have been examined, it’s the time to prepare the ground to be able to use the resin bound patio. It is crucial to scrub the patio’s surface and clear any fallen dirt or weeds. It is also crucial to repair any damages or cracks that may have occurred to the surface since this will impact the final finish of the patio.
The next step is to lay a sub-base layer usually made of crushed stone or gravel. The sub-base layer must be compacted in order to ensure it is solid and level. It is important that the sub-base is at least 100mm thick, as it serves as a base for resin-bound mixture.
Once the sub-base has been laid and compacted it’s time to mix the resin-bound mixture. This involves mixing natural aggregates with clear binder of the mixer. Follow the directions of the manufacturer to ensure the right consistency is achieved.
After the mixture has been prepared, it can be spread over the surface in an amount of 15-18mm. It is crucial to apply it quickly the mixture, as it will start to set after 30-40 minutes. To ensure that the surface is flat and smooth an iron trowel could be used.
After the resin bound mixture is applied it is essential to allow it to cure for at minimum 24 to 48 hours prior to walking on the surface. This will make sure that the mixture is completely fixed and stable.
The patio made of resin needs to be maintained and cleaned regularly to keep its appearance and functional. This includes regular sweeping to eliminate any debris along with occasional power washing to eliminate any marks or stains that are stubborn.
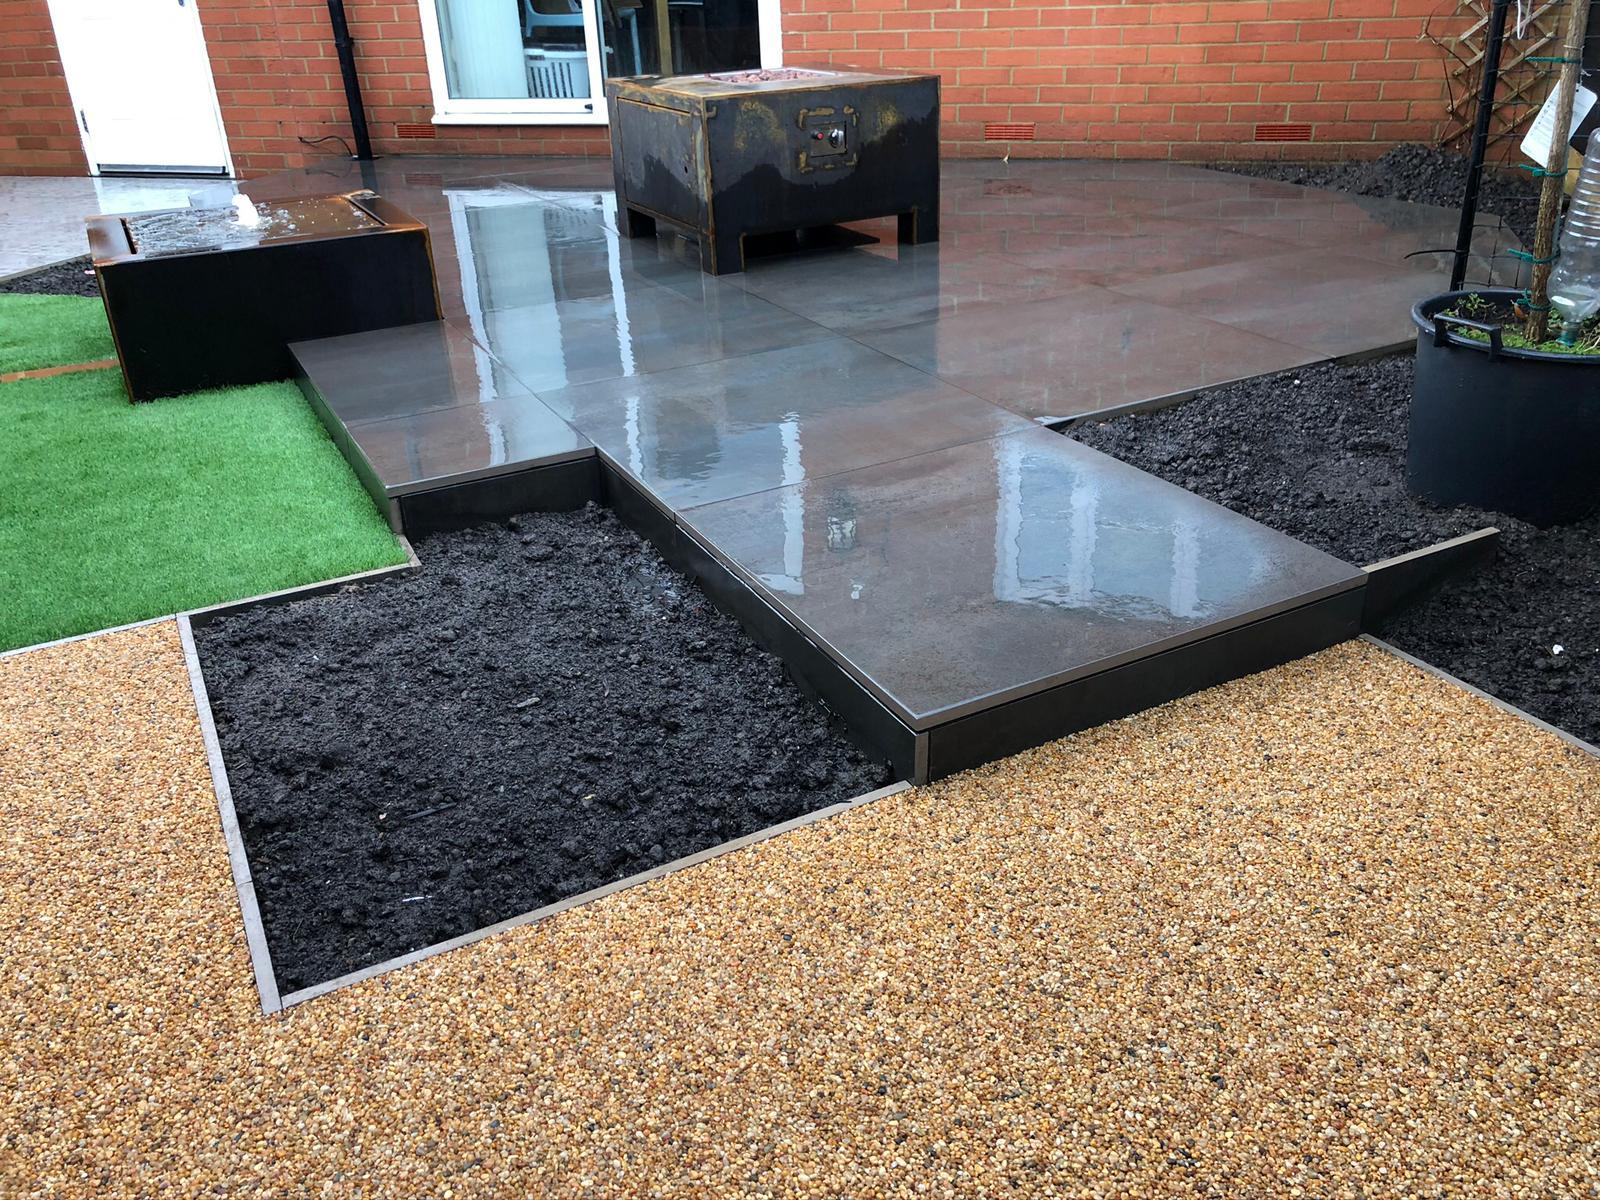
The resin bound gravel kit is a simple solution to revamp your outdoor area. These kits are a simple and simple way to give your garden, patio or driveway a modern and modern look. They’re not just visually appealing, but they also offer a durable, low-maintenance surface, which is ideal for homeowners who are busy. The resin-bound gravel is available in a variety of finishes and colors to fit any design. Additionally, installation is simple, making it a simple solution to revamp your exterior of your home. The resin bound gravel kits change your outdoor area from boring to beautiful and functional.
A resin bound patio is an easy DIY project that will add aesthetic appeal and value your outdoor space. The surface has to be constructed and the drainage needs be assessed. With the right tools, materials and a little bit of effort and a beautiful resin bound patio can be achieved.
For more information, click Resin Bound Patio Diy